Playing a little bit of catchup here. Last week I got the floor in and the rear door insulated and sheathed.

Floor is in, finally.

1" rigid foam XPS insulation.

3/8" plywood over the top.
Then I was in California this week for work, got back last night. Today I got the floor screwed in to the frame, the rest of the wiring for lights, fans, and outlets done, and caulked a bunch of holes and seams.
Then it started raining, so I came inside and finished most of the rest of the toilet. I more or less just followed the excellent article these folks wrote about their RV composting toilet.

Rubber seal around the edge to keep the box as airtight as possible.

Top lid with cutout. Note the clasps to make sure the lid is secured against the seal.

On goes the toilet seat.
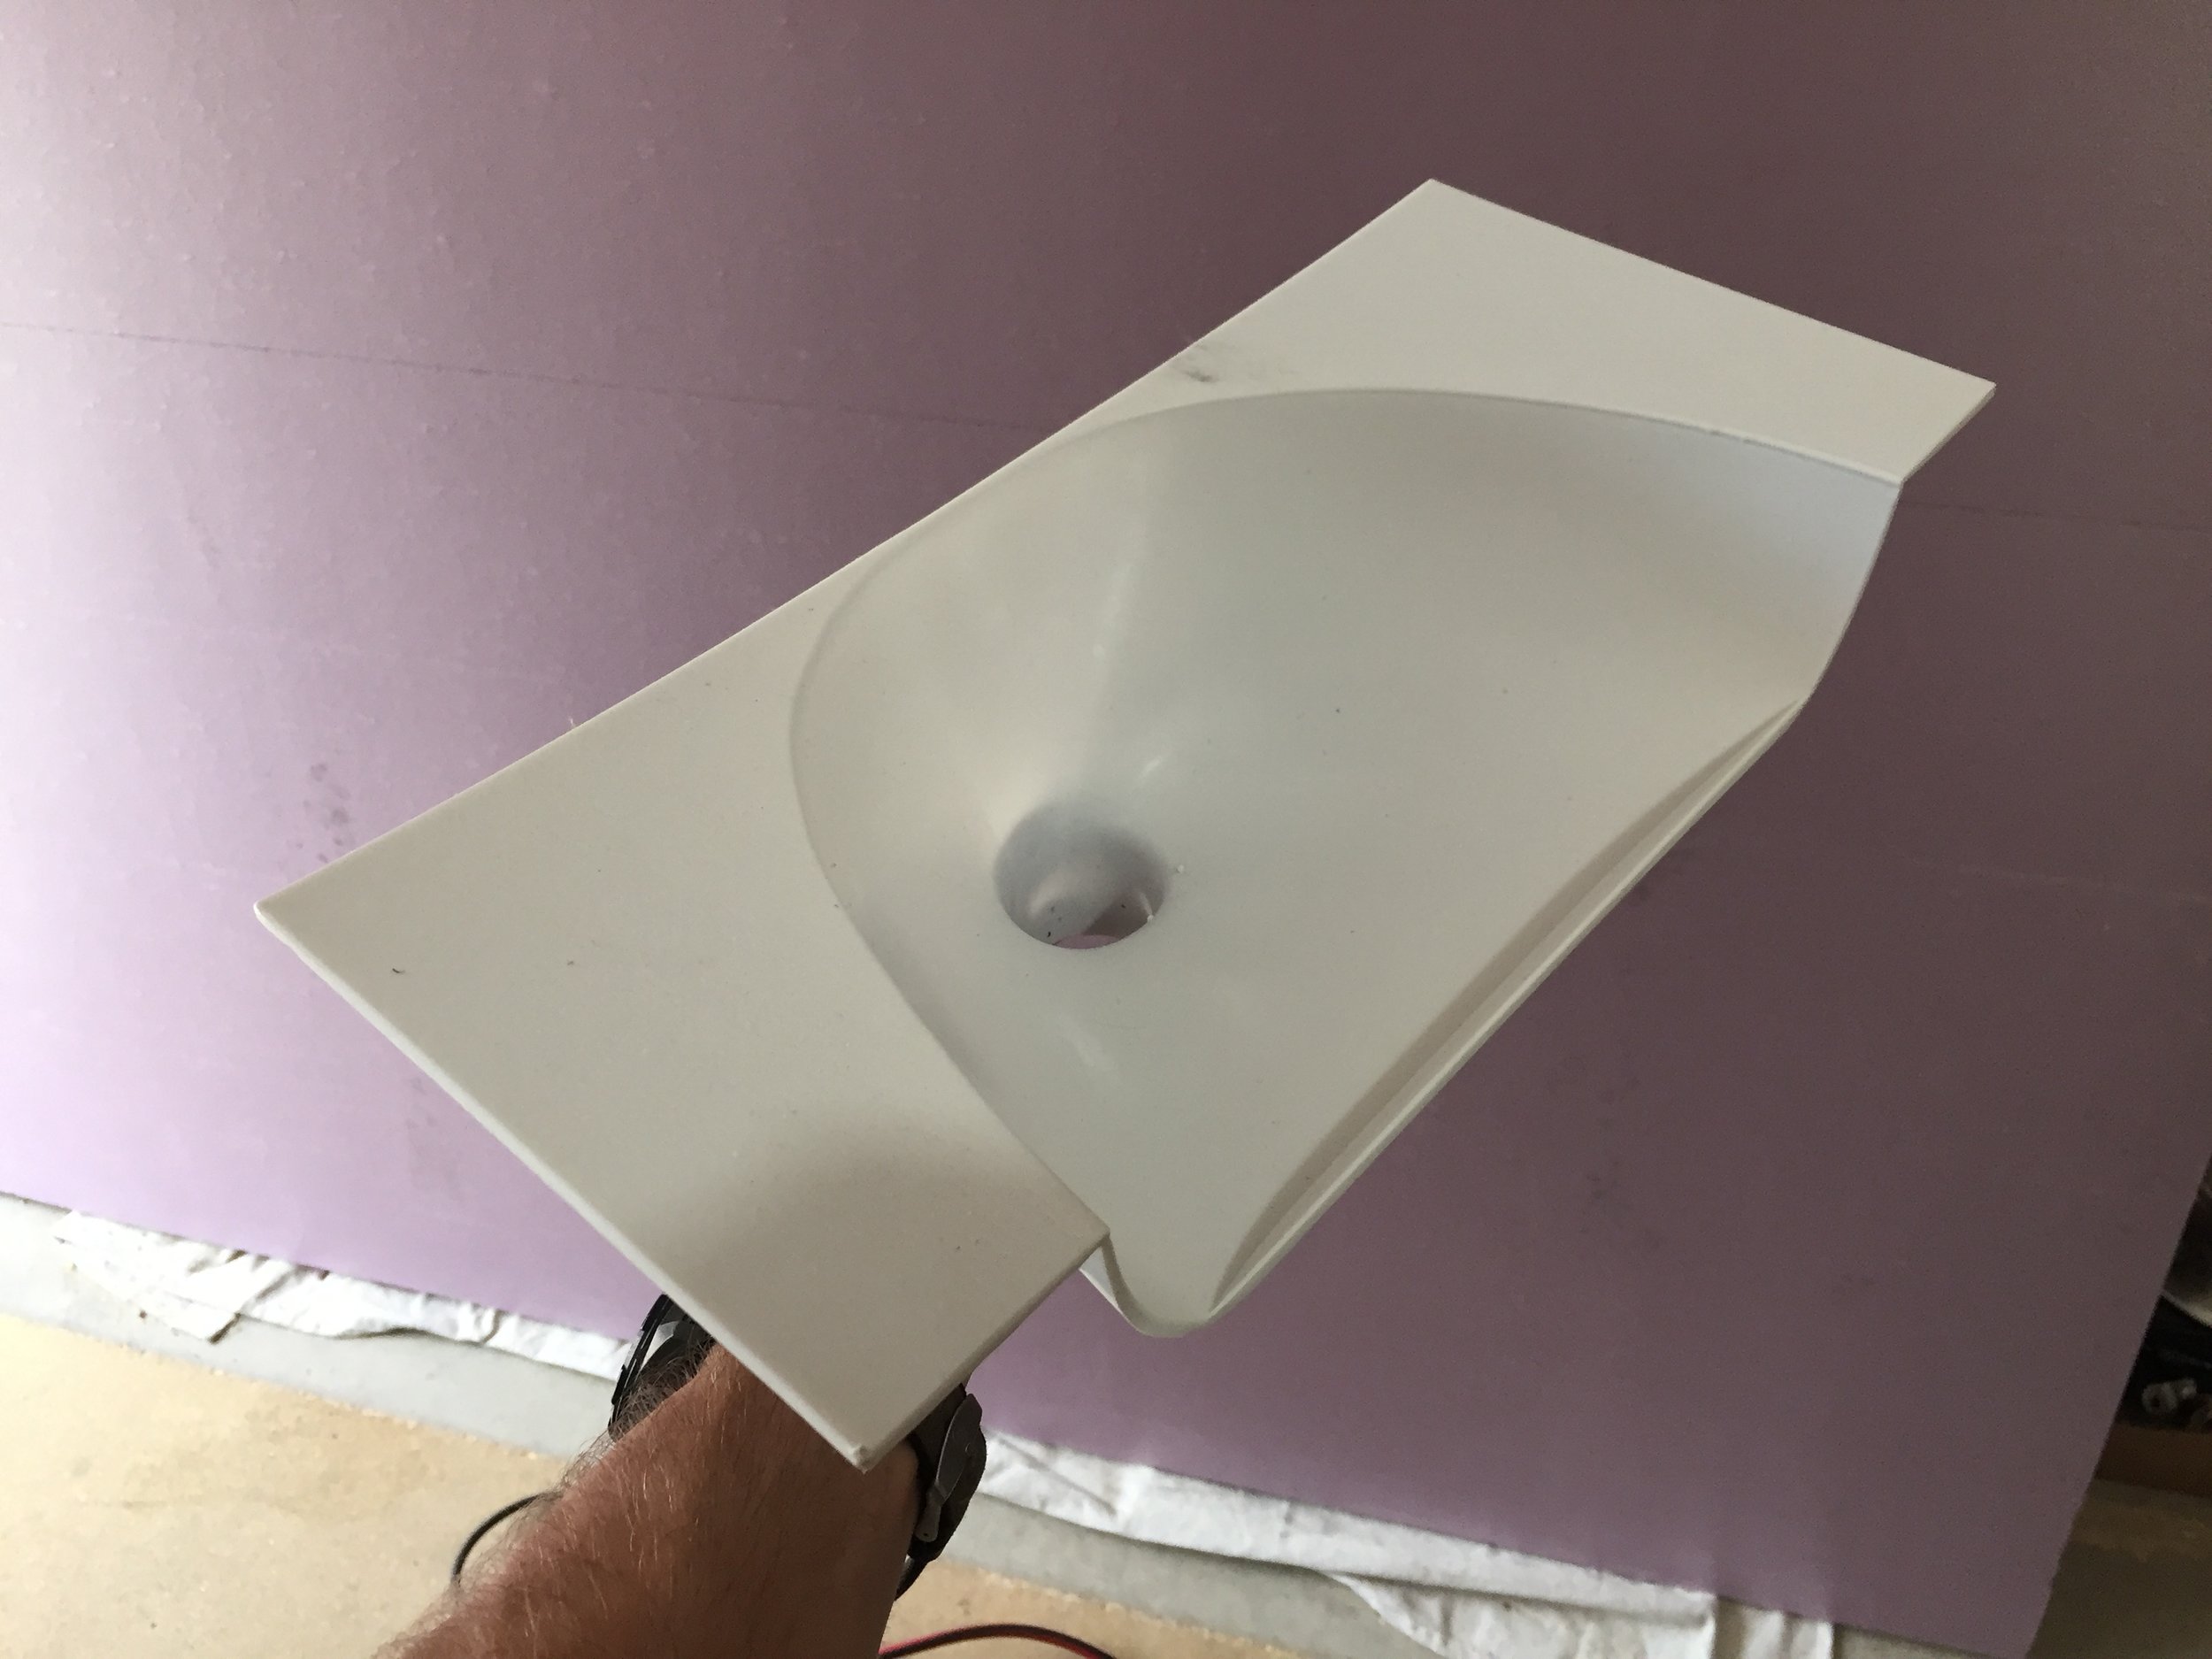
For some reason urine diverters are only made by small little hippie companies in the UK.

You get the idea.
The only things remaining are the vent van, urine bottle, top lid seal, and paint.