This was a fun build that came in two parts.
Part 1: The Shell
In the Fall of 2020 I found myself in Michigan with a truck, a motorcycle, access to a wood shop, and a meandering journey back west ahead of me. I wanted to be able to sleep in my truck without fuss, keep my motorcycle and gear dry and safe, and not spend a lot of money doing it. Commercial camper shells are quite expensive. “Adventure” camper shells cost more than my truck is worth.
Obviously, I needed to build my own camper shell.
I’d been noodling over various DIY camper shell designs for years, and already had a sketchup file full of WIP models.

The trick with this build is that the bed of my truck isn’t square - it’s literally twisted. If I built the topper square on the ground, it might not fit my not-square truck bed. So I had to build it on the bed, to ensure it was properly crooked.

The framing is 1x3 pine, bolted to the bed. Siding is shiplap pine. Roof is corrugated metal siding.

This was my first “shou sugi ban” project, which is just a fancy way of saying “I blowtorched the boards, then slathered them in Boiled Linseed Oil”. Burning the boards closes up the wood grain, makes them unfriendly to insects, and makes them look cool (which is the whole point, really). The oil keeps them weather proof and from dry rotting.

I almost didn’t build the front wind scoop because I was under time pressure. One test trip down the road without it revealed a high-pitched whining noise - the gap between the cab and the camper shell essentially functioned as a fipple. NFG. I built the front air scoop between 8pm and midnight the night before I packed all my stuff in the truck and drove across the country.


The one thing I didn’t get to during phase 1 was a door. I got this cotton tarp and rigged it up with bungee cords on my way out of town instead.
It works okay, but you have to remember to bungee it otherwise it’s going to be flapping around on the highway, and obviously it’s less secure. It also has a sort of “this truck is probably full of garbage on its way to the dump” vibe, which come to think of it is it’s own form of security.

Part 2: The Door
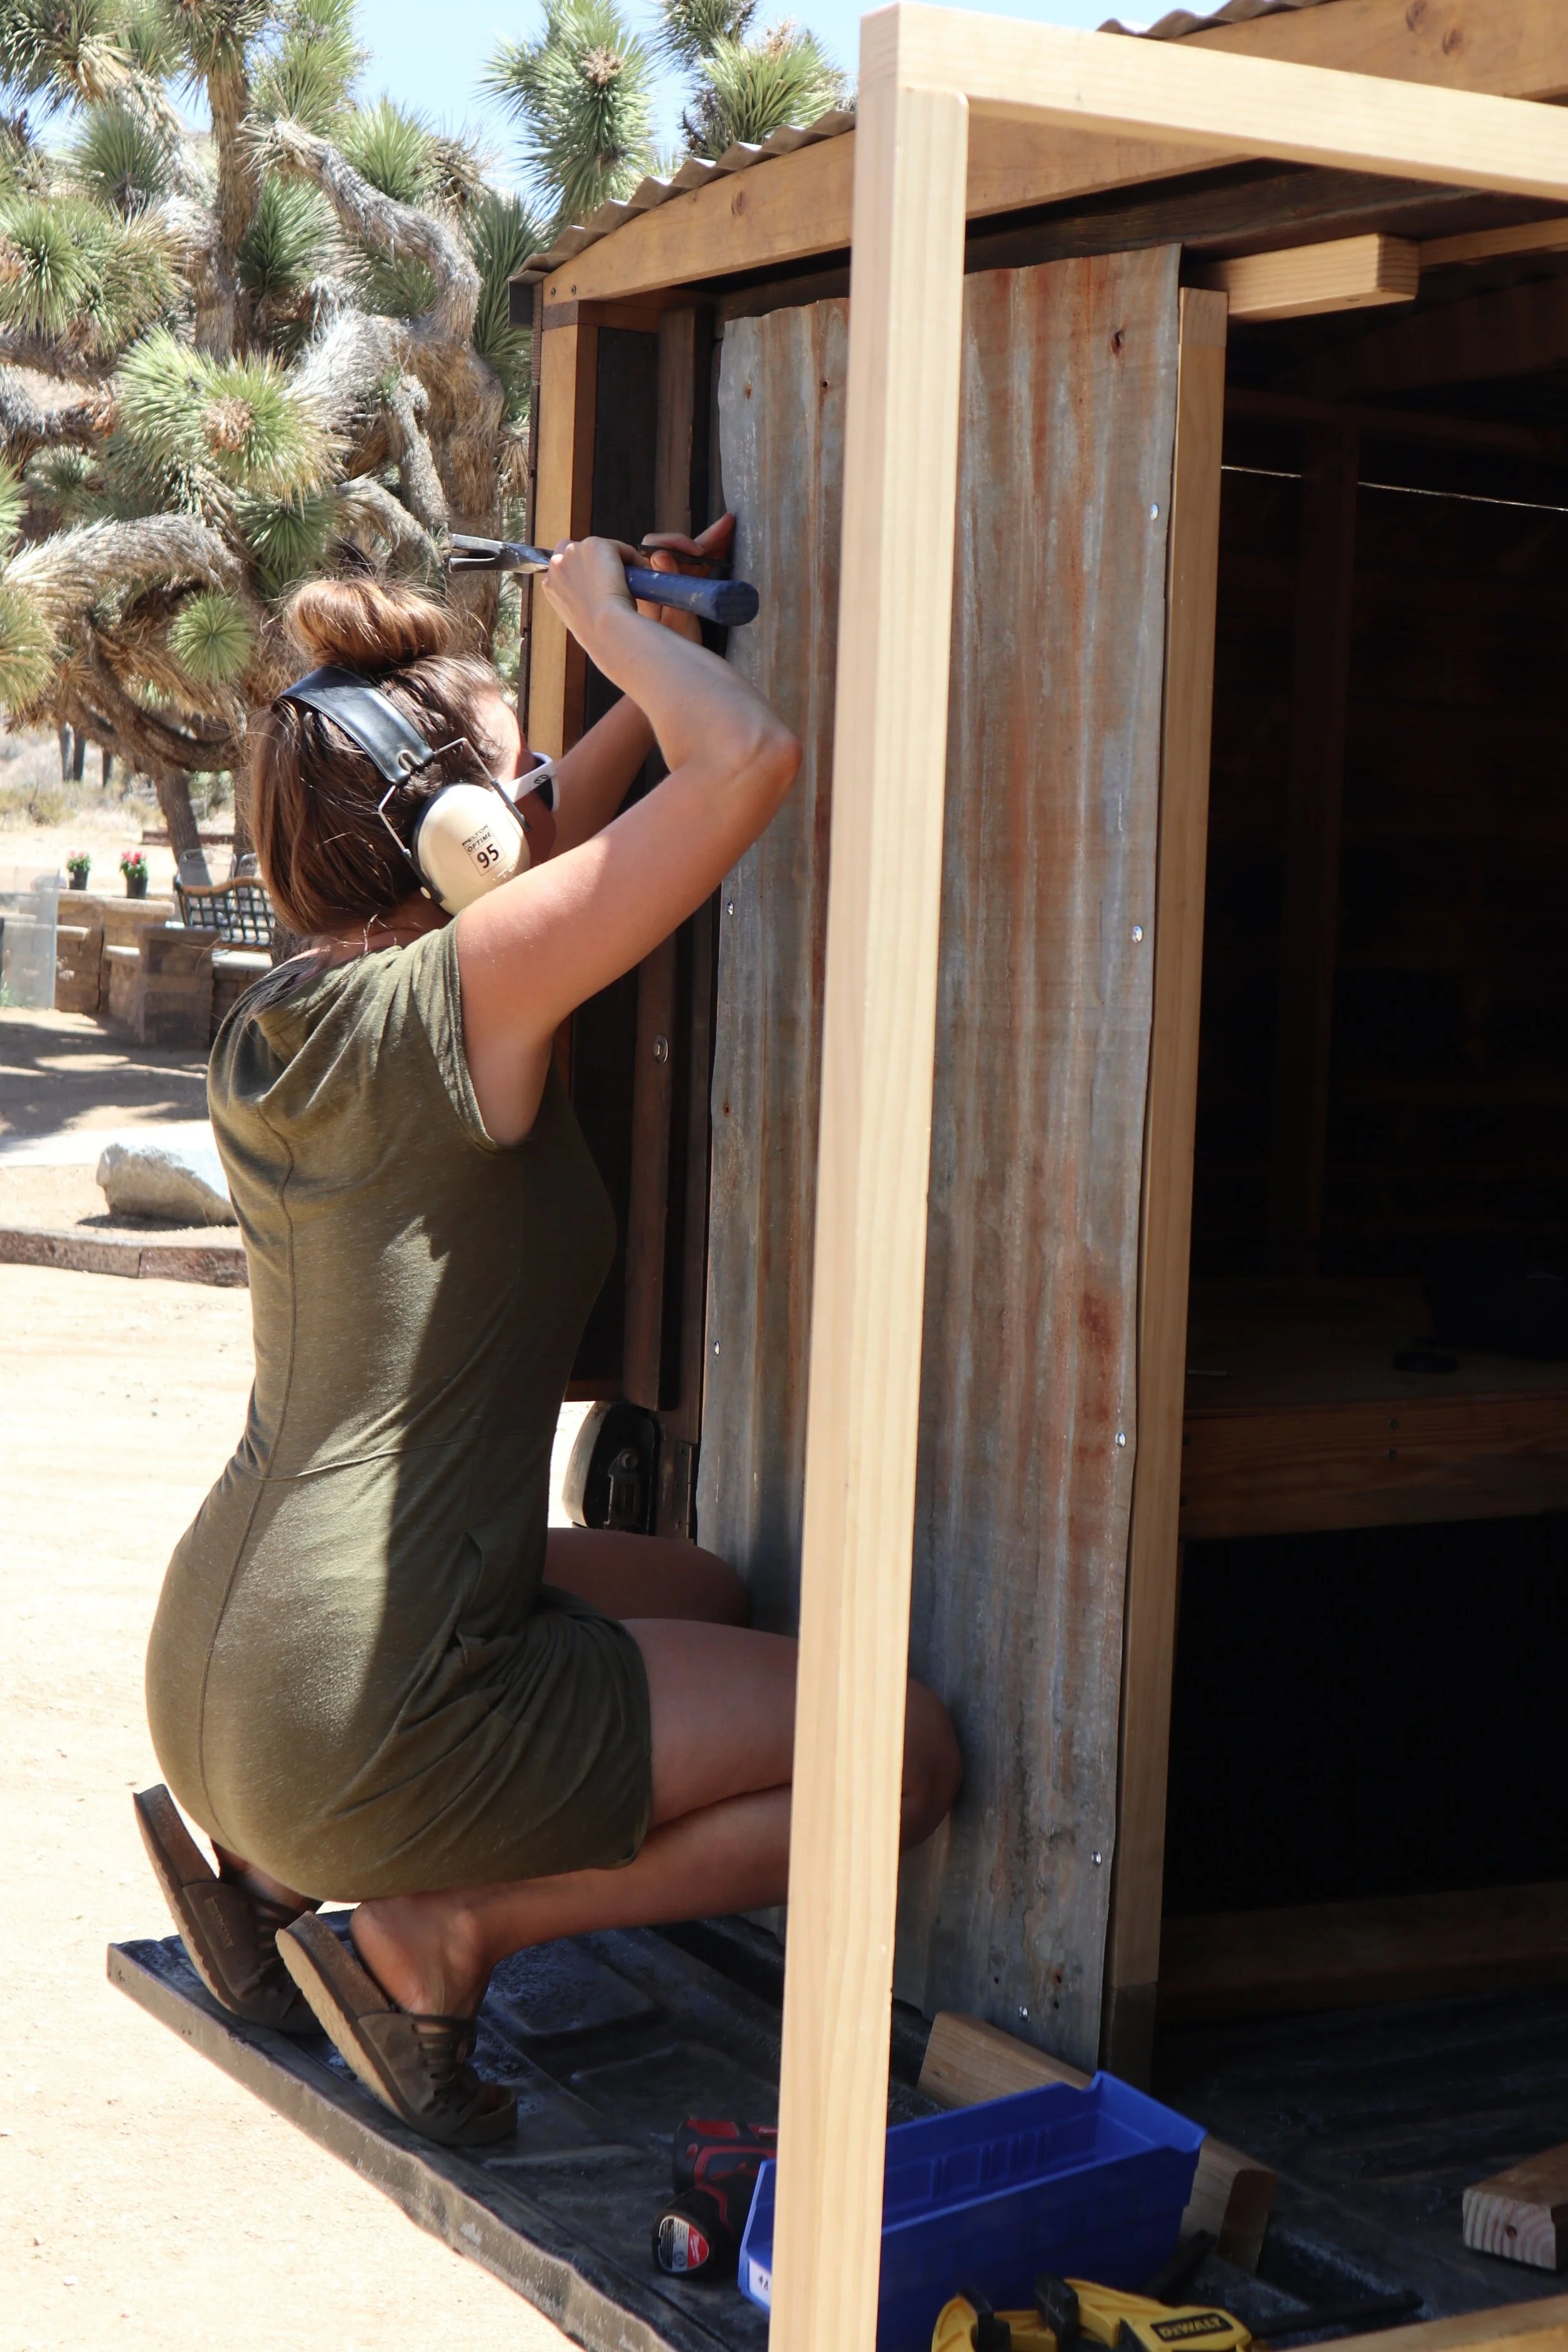
The tarp as rear door situation lasted from Fall 2020 through Spring 2021. Robyn and I planned a dirtbag tour of the western states for the summer, and decided we needed a better door situation.
The problem was that the small window of time we had for the project coincided with me being under doctor’s orders not to lift anything greater than ten pounds. Robyn would have to do all the actual work, and I’d design and supervise.

I had some salvaged corrugated metal siding I’d pulled off a neighbor’s old shed the year before, and there was plenty of dimensional scrap pieces laying around the property. We used a pocket hole jig to assemble the simple door frames.
The only purchased bits were the door hinges.

It was fun to do a small project together. Most of “our” builds involve me spending a stupid amount of hours planning, thinking, and designing, and then short bursts of together-time when I break off tasks that are straightforward. It seems we only ever do builds that I’ve never done before, so I have to spend a lot of time figuring it out - and it’s difficult to explain or teach how to build something if you’re figuring it out as you go yourself.
These doors were simple enough that I didn’t have to think about them, and being forced to not do any of the real work myself helped to just let go and let Robyn take it over. It turned out to be quite fun and I’m now on the lookout for opportunities to repeat the experience.